Can you repair a water damaged ceiling or a damaged wall? and if so, how long will it take?
ChaunceyAllPro: Your Trusted Solution for Wall Repair
ANSWER
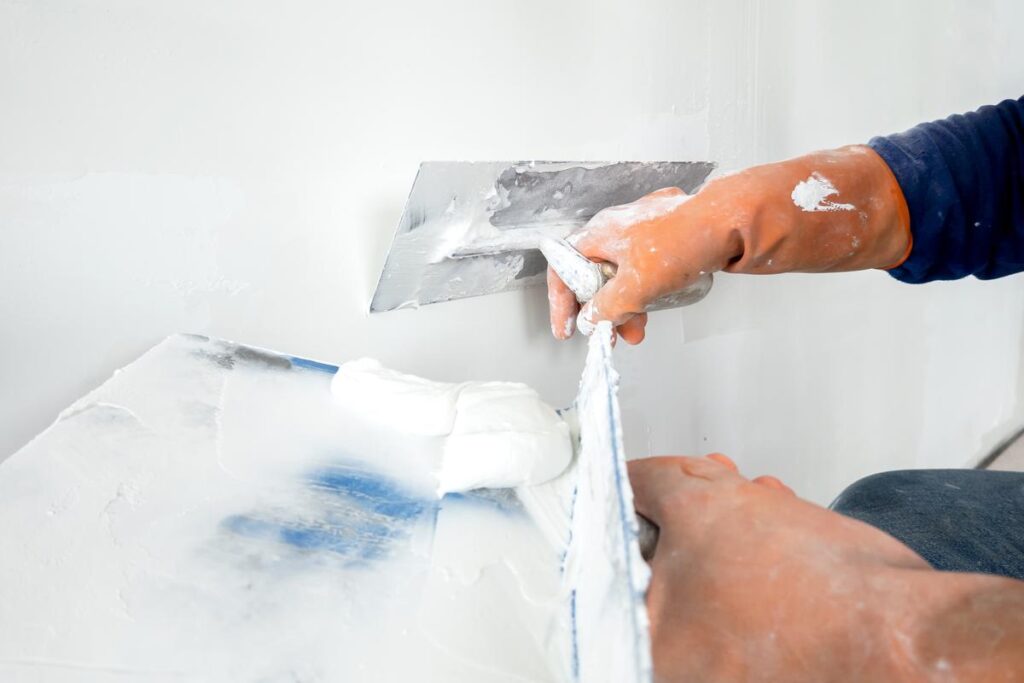
We will fill old holes, fix water damage, and any other repairs will be completed as part of our preparation. The time it takes to repair is in proportion to the amount of damage.
Whether you need to fix water damage or fill old holes, a collapsed ceiling, a mold infested wall in your basement, it does not matter, we’ve got you covered. Our skilled team is equipped to handle a range of wall repairs, ensuring exceptional results that exceed your expectations.
When it comes to repairing water damage or filling holes in your walls, we take a comprehensive approach. As part of our preparation process, we address any existing damage and make the necessary repairs. This ensures that your walls are in prime condition before proceeding with any further work.
The time it takes to complete the repair process depends on the extent of the damage. We assess each project individually, taking into account factors such as the size and severity of the damage. This allows us to provide you with an accurate estimate of the timeline during our initial consultation.
Our goal is to minimize any inconvenience caused by the repair process while delivering top-quality results. We work efficiently and diligently, keeping you informed throughout the entire process. You can trust us to complete the repairs in a timely manner without compromising on the quality of our workmanship.
To get started, simply reach out to our team and schedule a consultation. We’ll assess the damage, provide you with an estimate, and develop a plan tailored to your specific needs. With ChaunceyAllPro, you can rest assured knowing that your wall repairs are in capable hands.
Don’t let damaged walls detract from the beauty of your home any longer. Contact ChaunceyAllPro today and experience the difference of our professional and reliable wall repair services.
Note: For all inquiries and scheduling, please email us at [email protected]
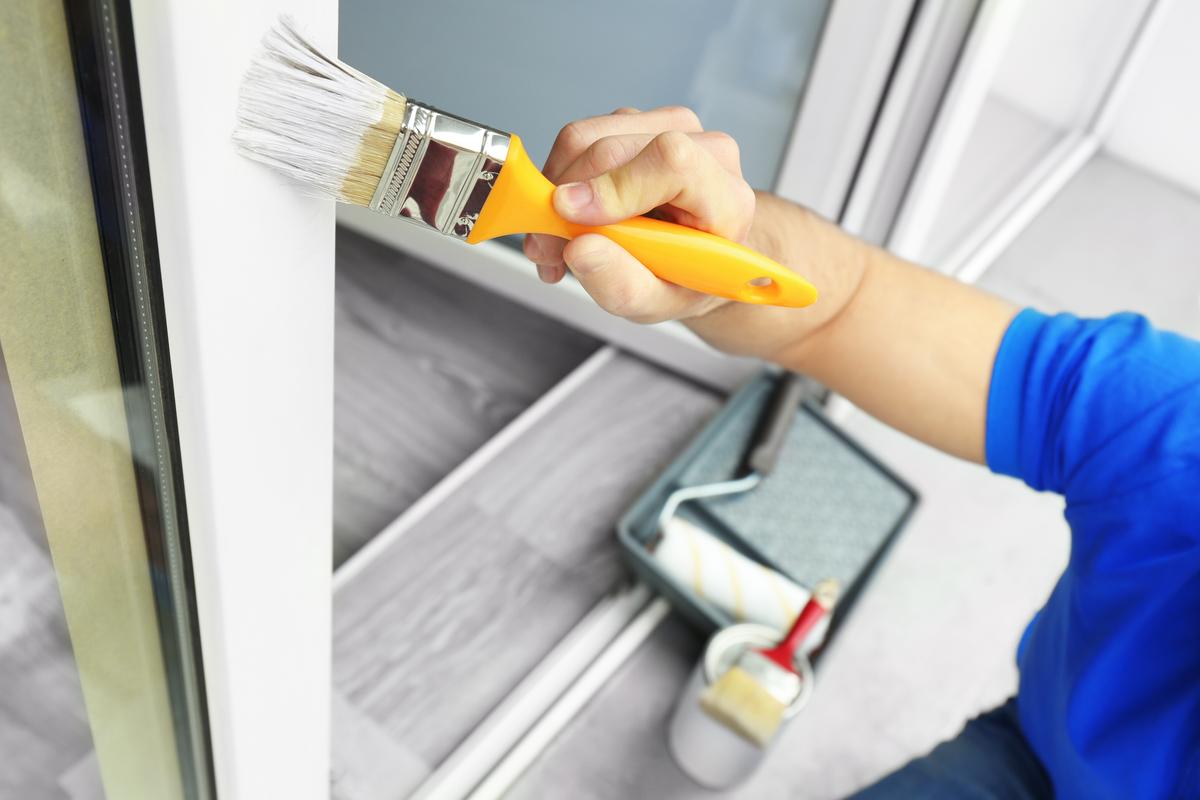
Experience the Difference: Professional Exterior Painting by ChaunceyAllPro
As a professional painter at ChaunceyAllPro, I have had the privilege of transforming numerous homes with our exceptional exterior painting services. Today, I want to share with you some valuable insights and guidance on factors that can greatly affect the outcome of your home’s exterior paint job. By understanding the impact of weather and temperature, as well as following a few crucial steps, you can ensure the best possible outcome for your project.
Factors Affecting Exterior Painting
When it comes to painting the exterior of a home, several factors come into play. Proper preparation, suitable weather conditions, and high-quality materials are essential for achieving a long-lasting and visually appealing finish. Let’s dive into each of these factors and explore how they contribute to an outstanding painting project.
1. Weather and Temperature Considerations
Weather and temperature play a significant role in the success of an exterior painting project. It’s crucial to choose the right time of year and ideal weather conditions to achieve the best results.
Temperature: Ideally, the temperature should be between 50°F (10°C) and 85°F (29°C) for optimal paint application. Avoid painting on extremely hot or cold days, as it can affect paint adhesion and drying time.
Humidity: High humidity levels can interfere with the drying process, leading to issues such as poor adhesion, bubbling, or streaking. Aim for a humidity level below 70% for the best outcome.
Rain and Moisture: Always avoid painting during rainy or excessively damp periods. Moisture can prevent the paint from adhering properly and cause premature peeling or blistering.
2. Ideal Time of Year
The ideal time to paint the exterior of your home will depend on your location and climate. In general, spring and fall are often considered the best seasons for exterior painting. These periods typically offer mild temperatures and lower humidity levels, creating optimal conditions for paint to dry and cure effectively.
3. Preparing Your Home for Painting
Proper preparation is key to achieving a flawless and long-lasting paint job. Here are some essential steps homeowners can take to prepare their house for painting:
Clean the Surface: Thoroughly clean the exterior surface using a mild detergent and water or a pressure washer. Remove dirt, grime, and any loose or flaking paint.
Repair and Patching: Inspect the surface for any cracks, holes, or damaged areas. Fill them with an appropriate filler and sand the patched areas to achieve a smooth finish.
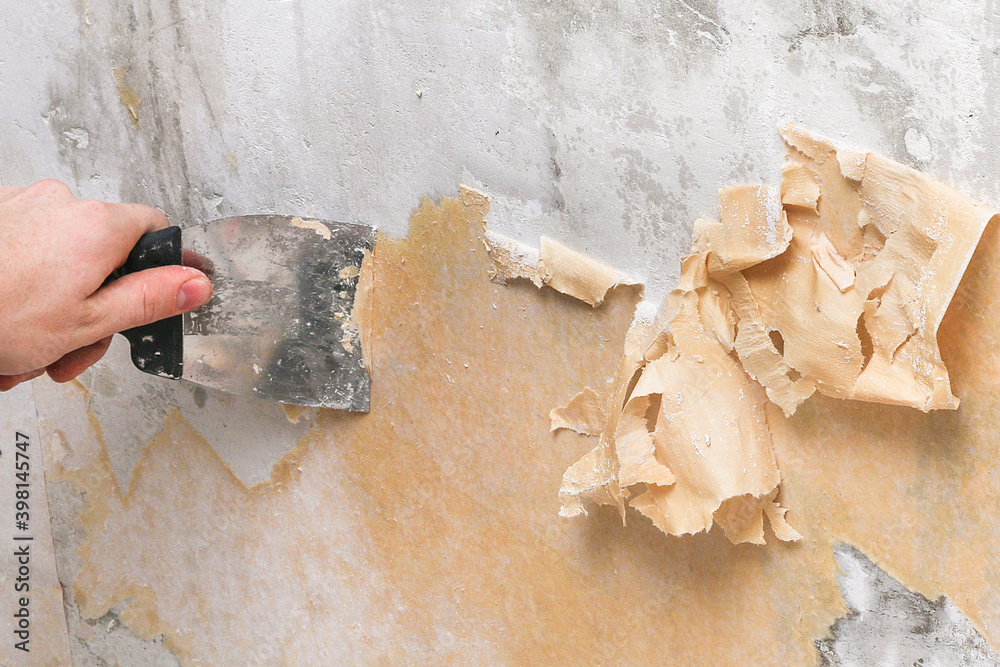
Scraping and Sanding: Remove any loose or peeling paint by scraping it off. Sand the surface to create a smooth and even base for the new paint to adhere to.
Protect Surrounding Areas: Cover windows, doors, plants, and other elements that shouldn’t be painted with drop cloths or plastic sheeting.
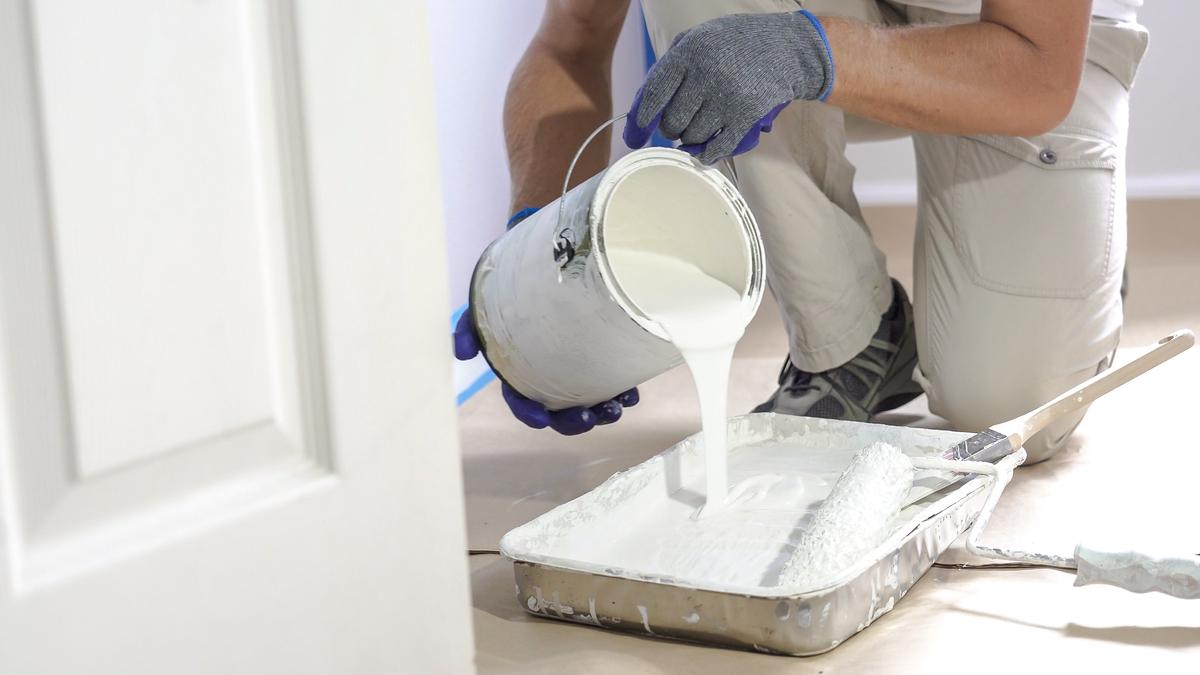
4. Choosing the Right Materials
Proper preparation is key to achieving a flawless and long-lasting paint job. Here are some essential steps homeowners can take to prepare their house for painting:
Clean the Surface: Thoroughly clean the exterior surface using a mild detergent and water or a pressure washer. Remove dirt, grime, and any loose or flaking paint.
Repair and Patching: Inspect the surface for any cracks, holes, or damaged areas. Fill them with an appropriate filler and sand the patched areas to achieve a smooth finish.
Scraping and Sanding: Remove any loose or peeling paint by scraping it off. Sand the surface to create a smooth and even base for the new paint to adhere to.
Protect Surrounding Areas: Cover windows, doors, plants, and other elements that shouldn’t be painted with drop cloths or plastic sheeting.
5. Safety First
Safety should always be a priority during any home improvement project. Here are some important safety tips for homeowners:
Protective Gear: Wear appropriate safety gear, including goggles, gloves, and a mask, to protect yourself from fumes and potential hazards.
Ladder Safety: Use a sturdy and stable ladder when working at heights. Ensure it is placed on a level surface and follow proper ladder safety guidelines.
Ventilation: Ensure proper ventilation during painting to minimize exposure to paint fumes. Open windows and doors or use fans to circulate fresh air.
Avoiding Common Mistakes
To ensure the best outcome for your exterior painting project, it’s important to avoid common mistakes. Some pitfalls to watch out for include:
Rushing the Process: Take your time and follow the necessary steps for preparation and application. Rushing can lead to uneven coverage, drips, or other imperfections.
Skipping Primer: Unless using a paint-and-primer-in-one product, always use a primer before applying the topcoat. Primer enhances adhesion and improves the overall finish.
Don’t Let Water Damage Rain on Your Parade: A Comprehensive Guide to Fixing Water-Damaged Ceilings and Walls
Welcome, homeowners, to a comprehensive guide on how to repair water-damaged ceilings or walls caused by a leaking bathtub from an upper-floor apartment. As a home repair specialist, we understand the extent of damage that water can cause and the importance of addressing it promptly to protect your home’s structure. Let’s dive into the necessary steps involved in this repair process, along with some valuable tips and recommendations.
1. Assessing the Damage
Water damage can wreak havoc on your ceilings and walls, compromising their integrity and leading to structural issues if left unaddressed. Before beginning the repair process, assess the extent of the damage:
Look for visible signs of water stains, discoloration, or bulging in the affected area.
Check for any softness or sponginess in the drywall or plaster.
Inspect nearby electrical fixtures or outlets for signs of moisture or damage.
2. Identifying the Source of the Leak
Identifying and fixing the source of the leak is crucial to prevent further damage. In this case, the leaking bathtub from an upper-floor apartment is likely the culprit. Here’s what you need to do:
Communicate with the tenant above to address the issue and ensure they take appropriate action to stop the leak.
Inspect the bathtub for any visible cracks, loose fittings, or damaged seals.
Check the area around the bathtub, including the wall adjacent to it, for signs of moisture or water intrusion
3. Repairing or Replacing Damaged Parts
Once you’ve stopped the source of the leak, it’s time to repair or replace any damaged parts:
Remove any wet or damaged drywall, plaster, or ceiling material to reveal the extent of the damage.
Allow the affected area to thoroughly dry before proceeding with repairs.
If necessary, replace any water-damaged framing or structural components to ensure the integrity of your home’s structure.
4. Applying a Sealant or Waterproof Membrane
To prevent future leaks and protect your newly repaired ceilings and walls, applying a sealant or waterproof membrane is essential:
Choose a high-quality waterproof sealant or membrane specifically designed for bathrooms and wet areas.
Follow the manufacturer’s instructions for proper application and drying time.
Ensure that all seams, joints, and gaps are adequately sealed to prevent any water infiltration.
Timeline and Estimated Completion
The repair process for water-damaged ceilings and walls can vary depending on the extent of the damage and the size of the affected area. Here’s a rough timeline to give you an idea:
1. Assessing the Damage: 1 day
2. Identifying the Source of the Leak: 1 day (may require coordination with the tenant above)
3. Repairing or Replacing Damaged Parts: 2-3 days (allowing for drying time)
4.Applying a Sealant or Waterproof Membrane: 1-2 days (depending on the product used)
Please note that these timeframes are approximate and may vary based on the complexity of the repairs and the drying conditions in your specific location.
Recommended Products and Tools
To facilitate the process of repairing water-damaged walls or ceilings, here are a few recommended products and tools:
Drywall patching compound or plaster for filling and smoothing damaged areas.
Sandpaper or a sanding block for creating a smooth surface before applying the sealant or waterproof membrane.
High-quality waterproof sealant or waterproofing paint suitable for bathroom use.
A moisture meter to ensure the affected area is thoroughly dry before proceeding with repairs.
Remember, if you feel unsure about tackling this repair on your own, it’s always best to consult with a professional contractor experienced in water damage restoration.
Don’t let water damage dampen your spirits. By following these steps and taking prompt action, you can restore your ceilings and walls to their former glory, ensuring a safe and beautiful home for years to come.


One Response